Using FPP with a Pixel Pi Hat
Down FPP and a disk imaging tool to write FPP to a SD Card For Raspberry Pi series including Pi B, Pi B+, Pi 3, Pi 3+, Pi 4 and Pi Zero use this image FPP-v4.6.1-Pi.img.zip
Next, download Win32 Disk Imager Win32 Disk Imager
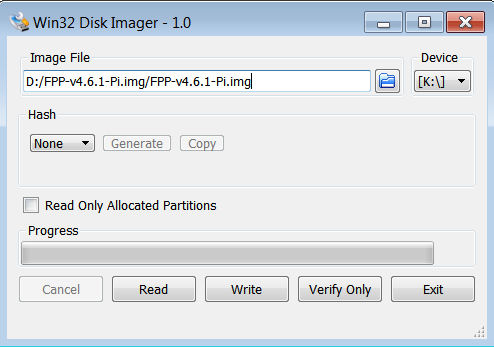
Unzip the file and launhc win32 Disk Imager

Select the FPP-v4.6.1-Pi.img file and make sure you have you sdcard inserted and select the drive letter match to what you see in Win32 Disk Imager

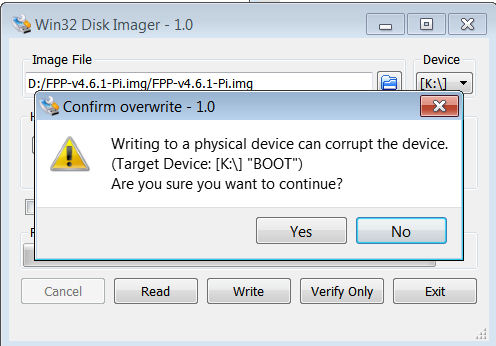
Press the Write button and a pop up will ask you confirm you are about to erase and load FPP onto the SD card
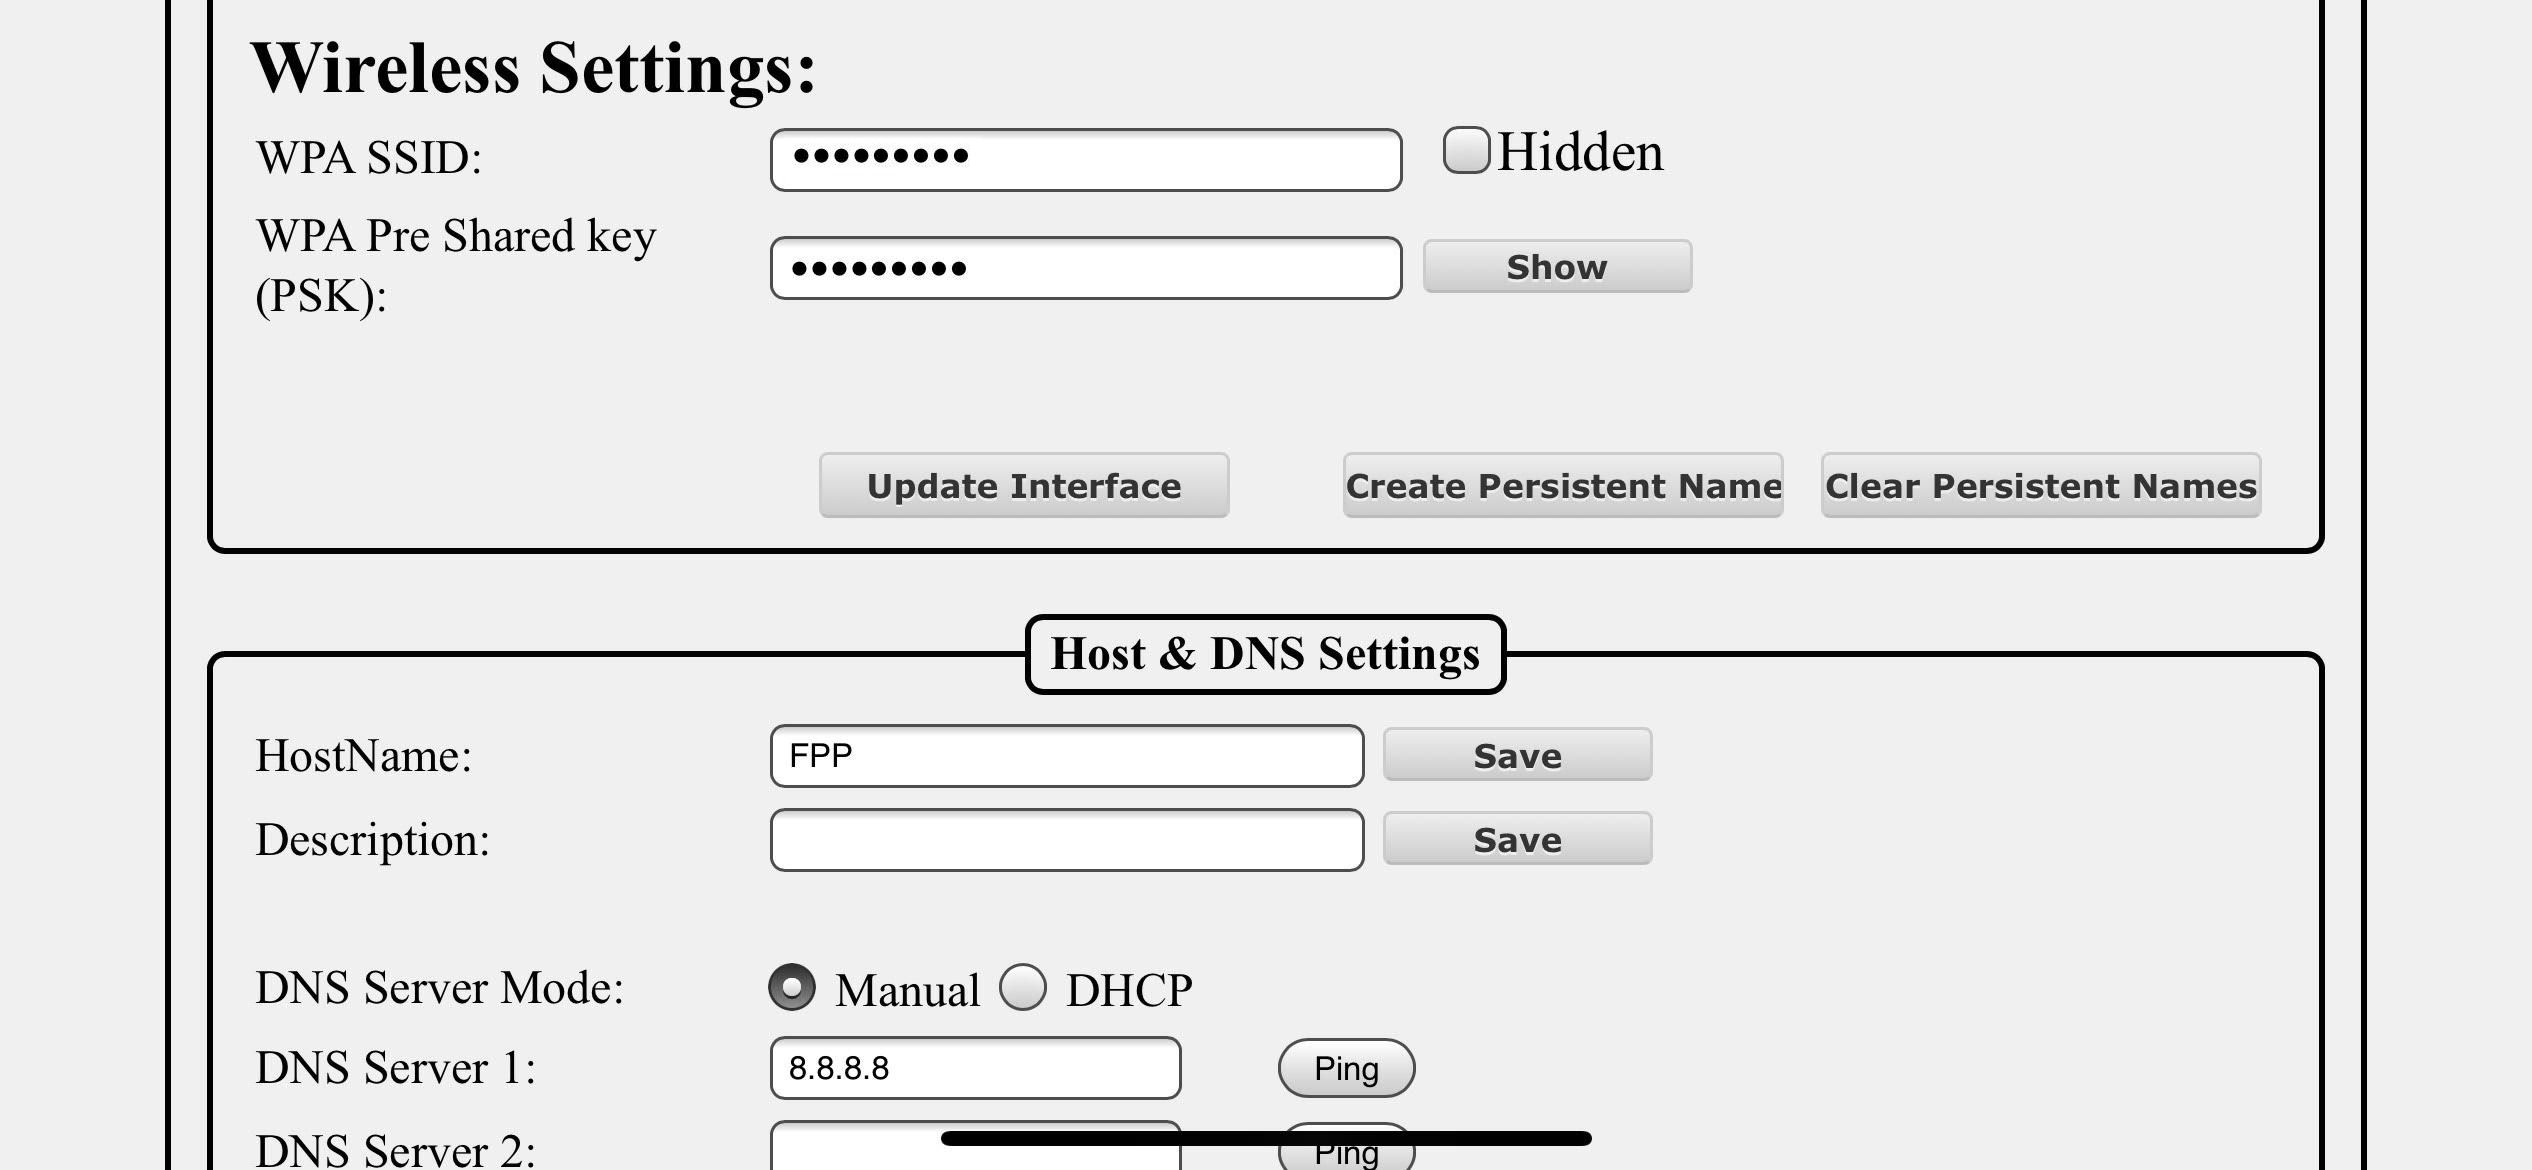
Using a phone or tablet that has WiFi, go to your WiFi setting and select FPP User is fpp and the Password is christmas
.jpg)
After complete, you can remove the card and insetr into your raspberry pi with the power off
Goto the IP addres in your web broweser of 192.168.8.1
.jpg)
After complete, you can remove the card and insetr into your raspberry pi with the power off
Power on the Raspberry Pi and wait 2 minutes for it to fully load.

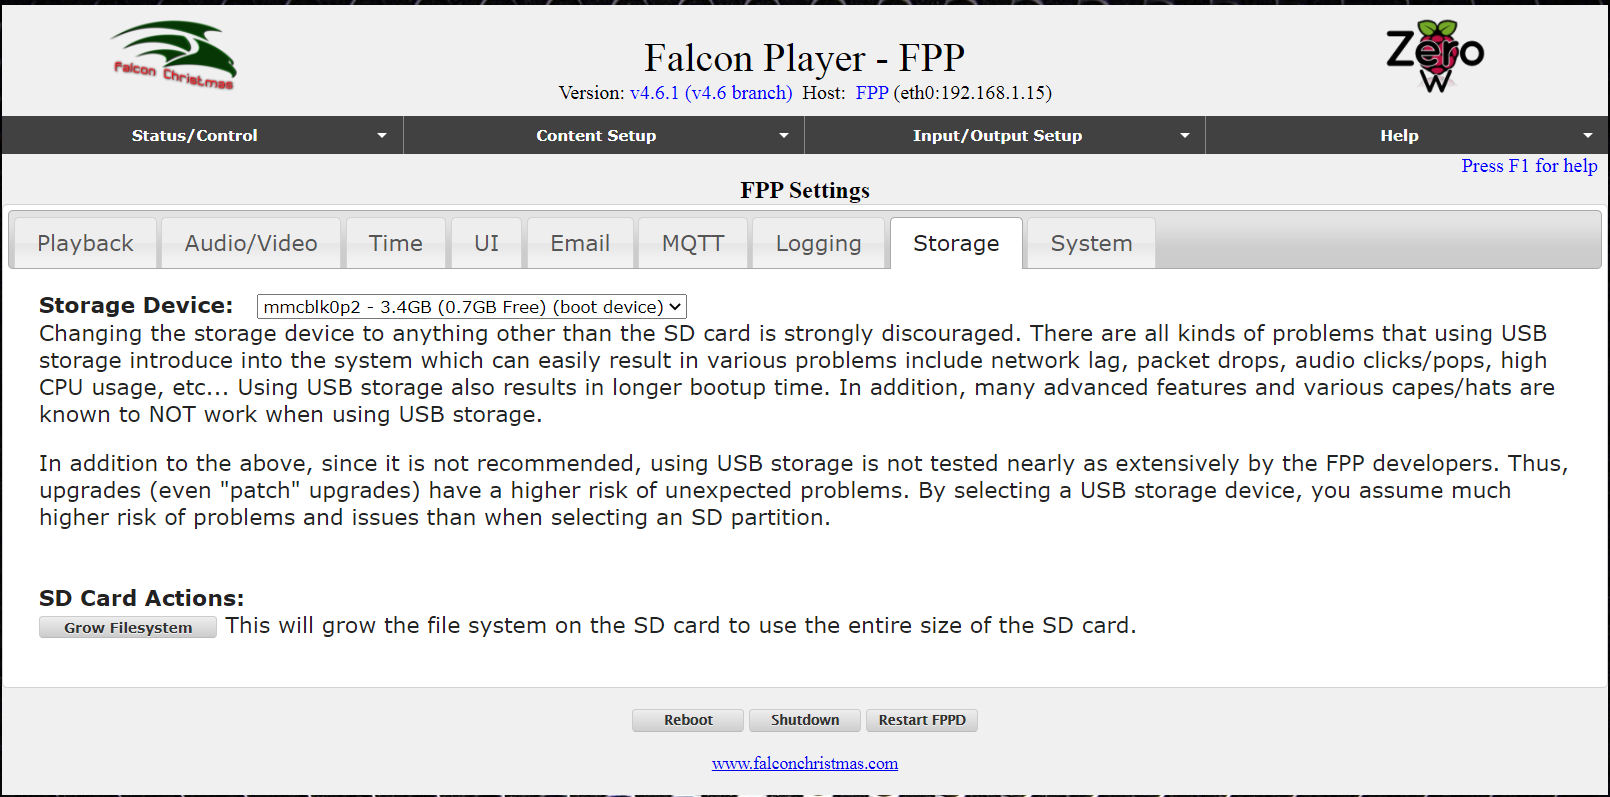
Click the Storage Settings and then Click the button Grow Filesystem
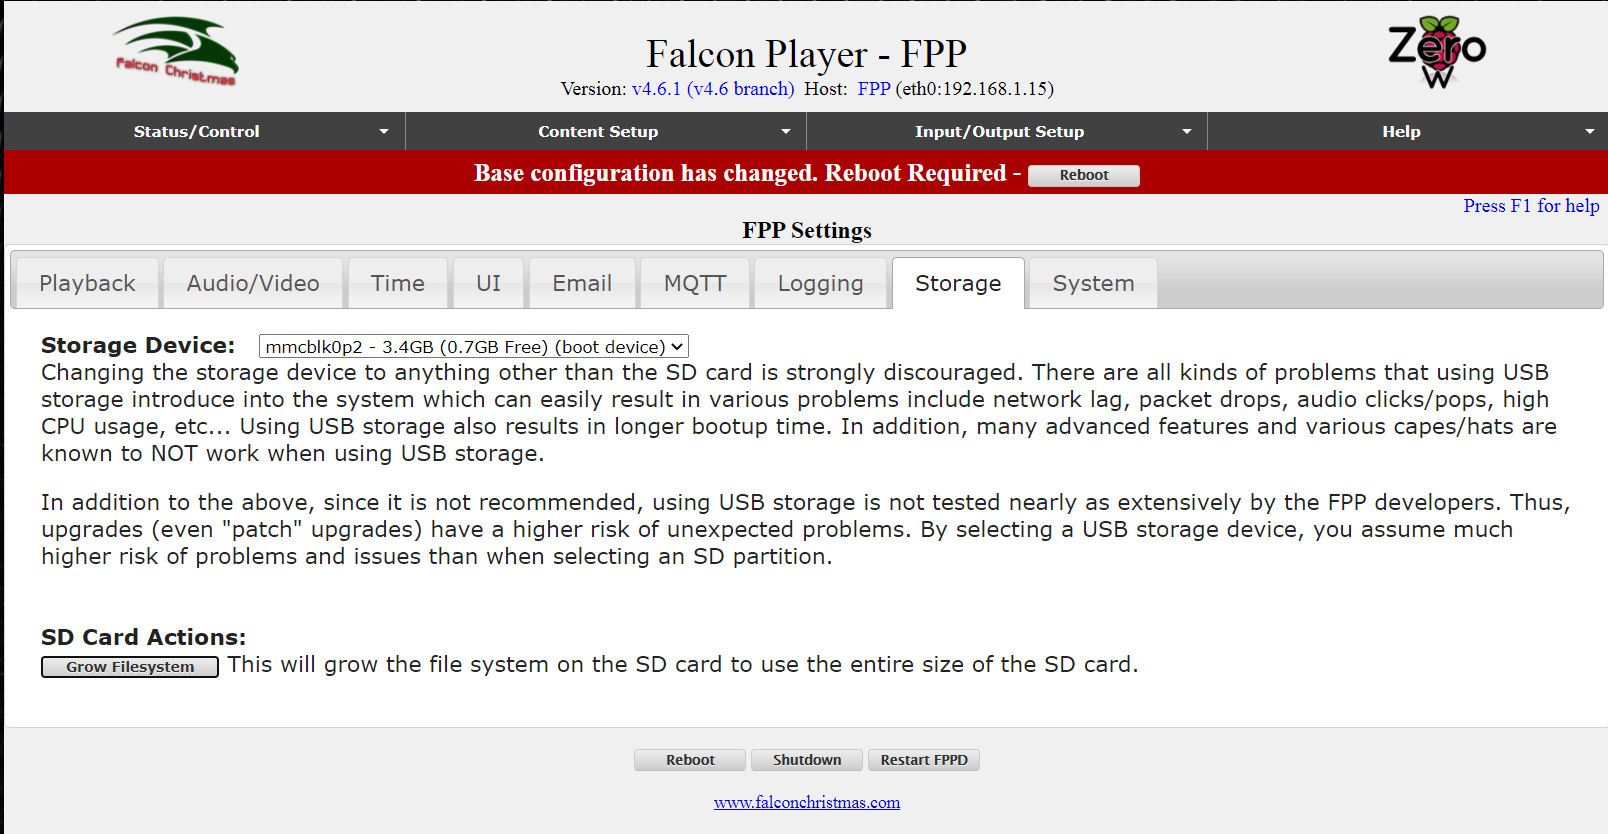
Click the Reboot button and wait 2 minutes, then again, go to your WiFi setting and select FPP. Select Network Settings and setup your WiFi Router information followed by updating. Another reboot will then be required (should be the last)
.jpg)
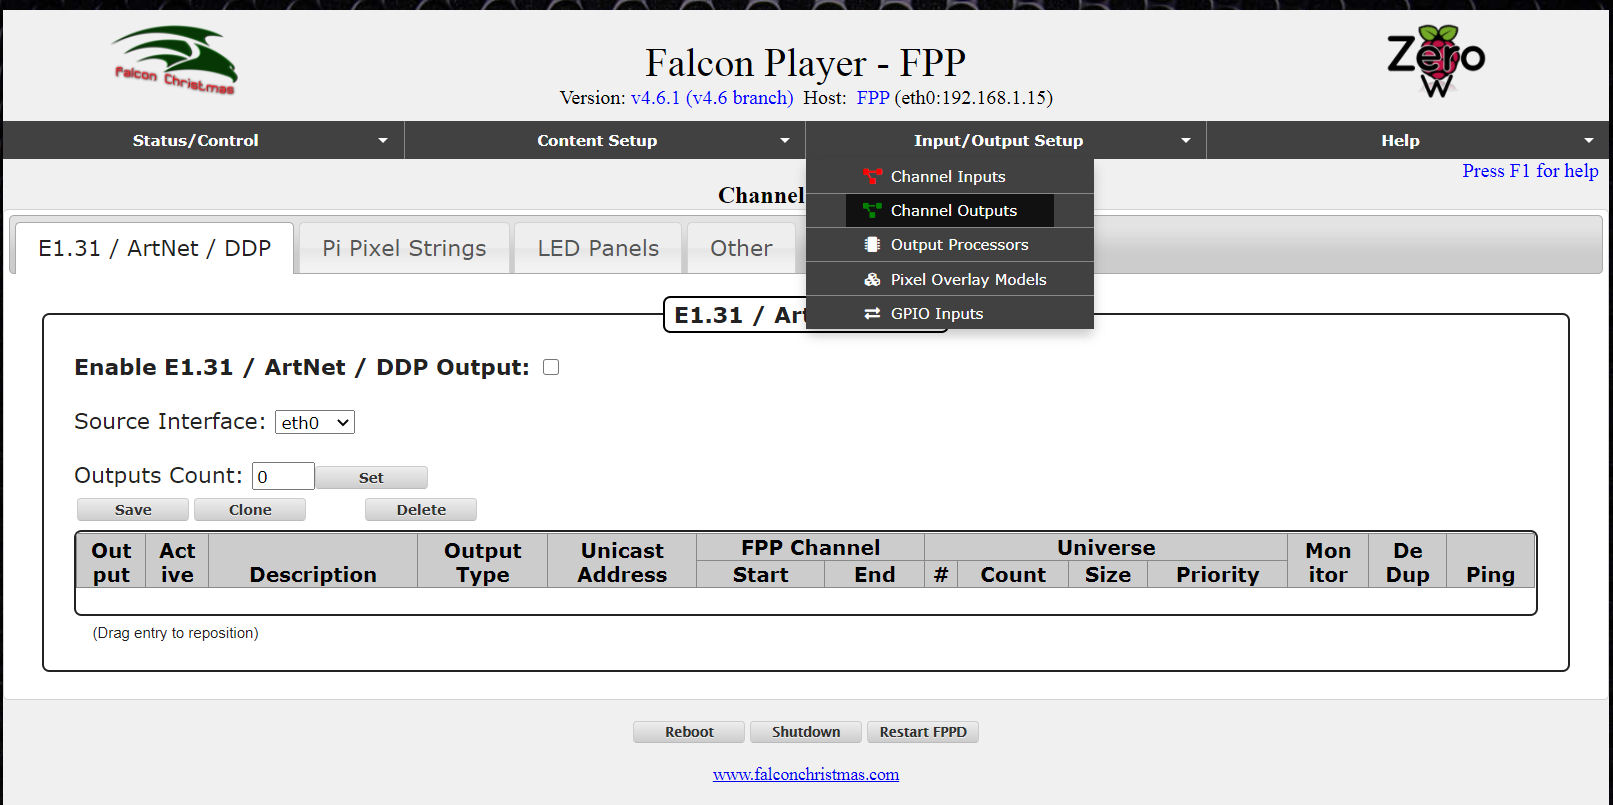
Under input.output setup you input information and Universe count of 6 followed by 510 instead of 512 then click save.

Now select the Channel Outputs follwoed by clicking the Pi Pixel String Tab
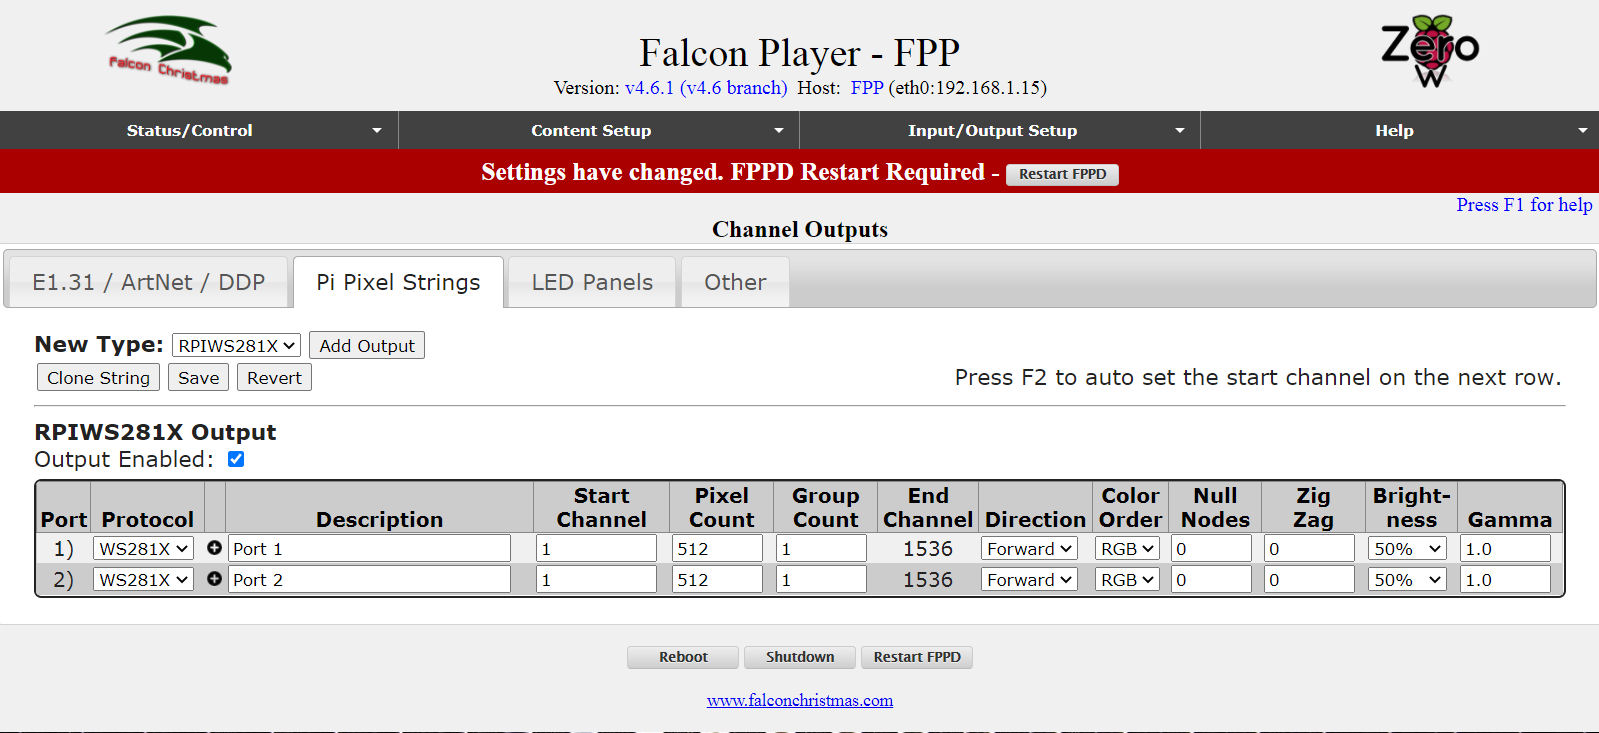
Cick Add output to add the 2 port (RPIWS281X0

Enter Port 1 and Port 2 with the pixel count starting at 1 and ending at 612 in port 1.
Click on the Start Channel in Port 1 and press F2, then enter in the pixel count of 512 for port 2.

Change the brightnes to 30% and click Save

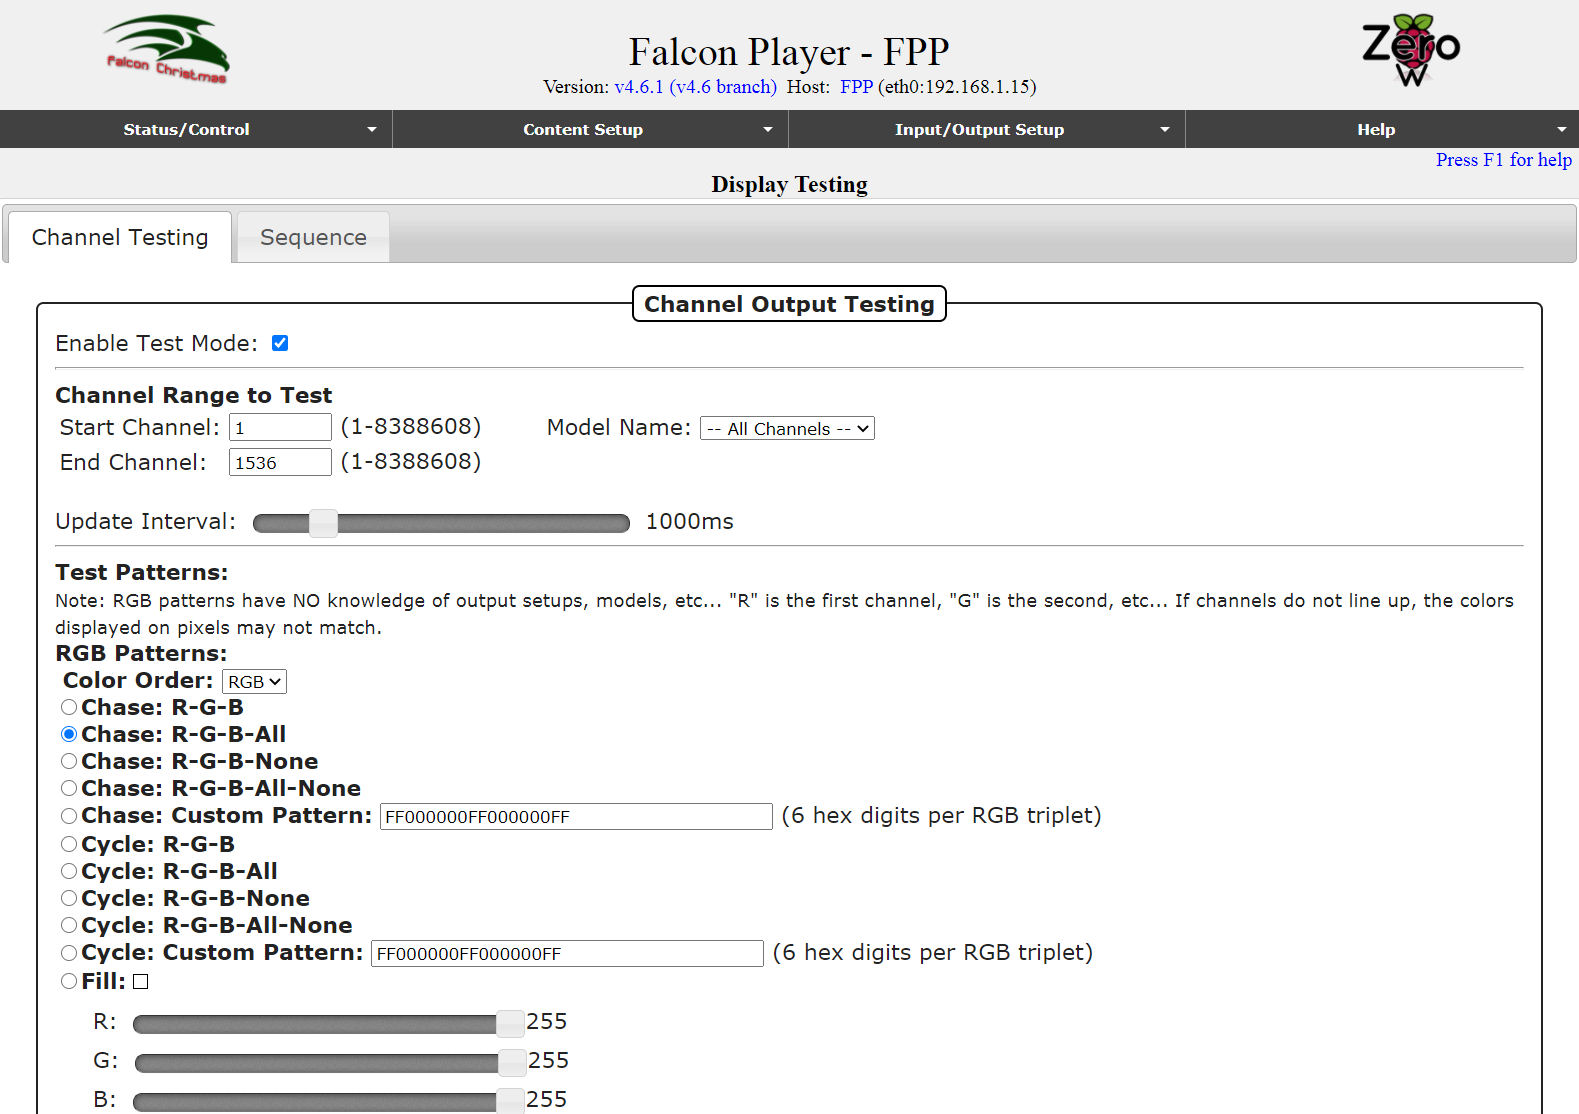
You are now ready to run a test and use FPP.
Troubleshooting
-
Check your xLights setup cannel count (pixels times 3).
Each pixel is a count of 3 channels, remember this during setup.